

My newly purchased 2002 MXZ 700 Renegade did not come with a temp gauge, so I decided to install one. Did some research and found the kit I needed and ordered it from my local dealer. I called with the part number and saved 10%, any little bit helps. It came to around $110 after discount and taxes.
Tools needed:
rag
long handle phillips screwdriver
7mm nutdriver
13/16 deep well socket and appropriate ratchet
2 1/2" hole saw
1/8" twist drill bit
scratch awl
drill
pipe sealant
stripping and crimping wiring pliers
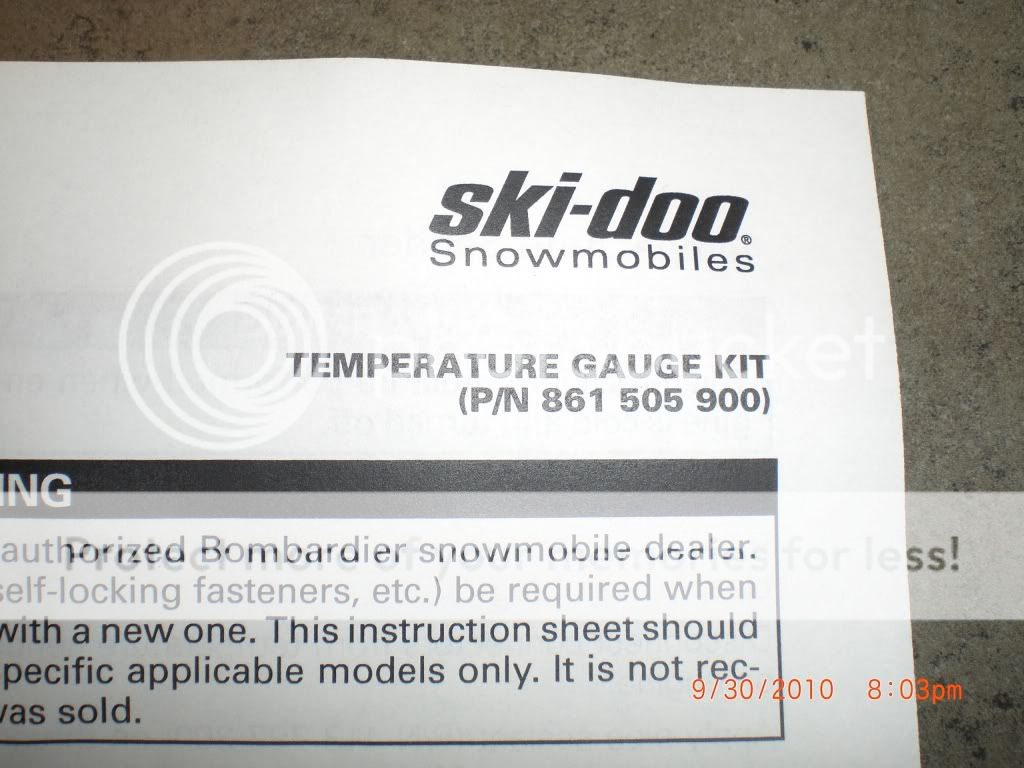
The kit part number is:
![Image]()
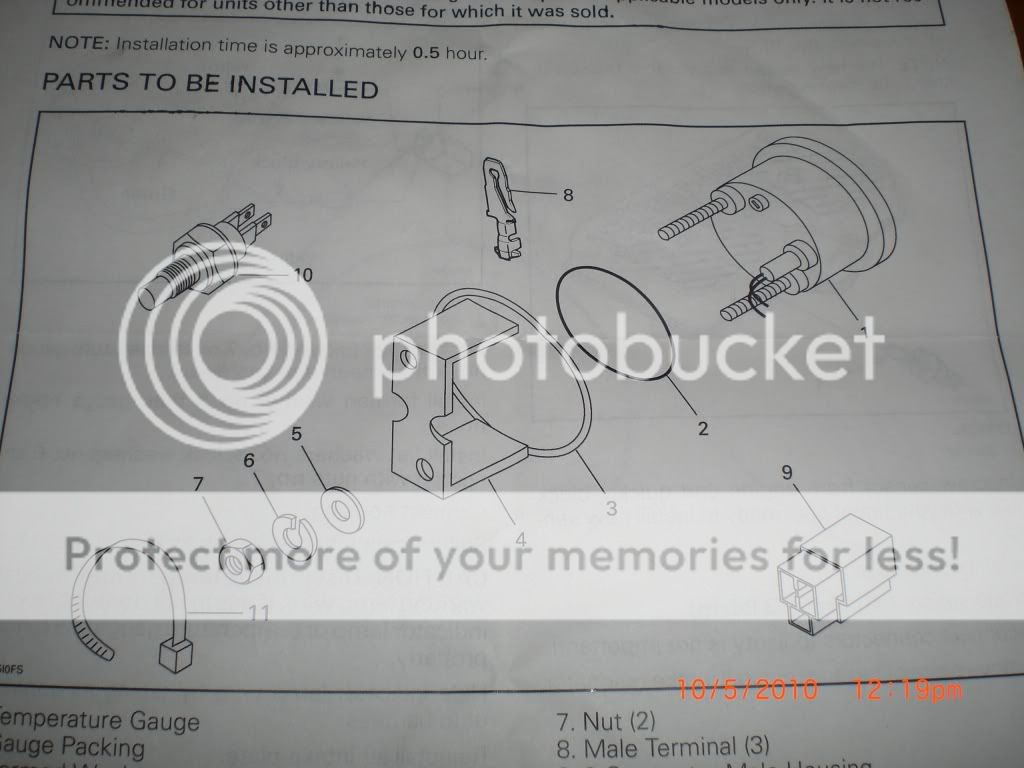
parts list with part numbers:
![Image]()
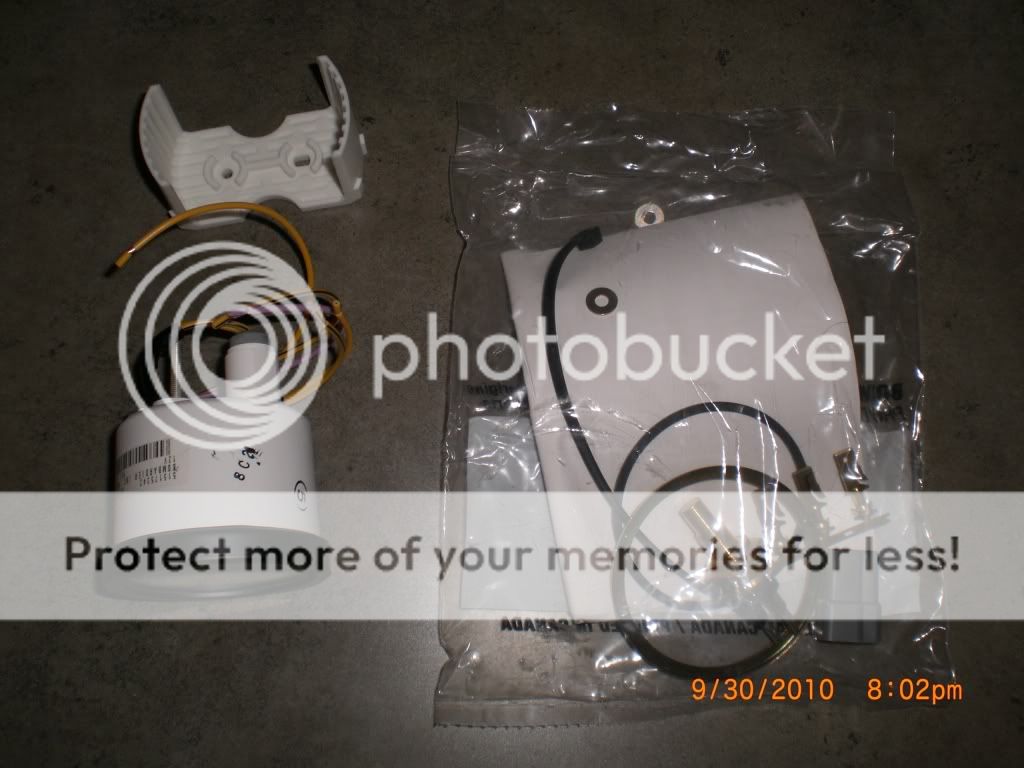
Bag of parts inside the box:
![Image]()
The instructions are simple and easy to follow. Loosen the hose clamps on both carbs and remove the airbox. Remove the resonator and block the open holes from the removed resonator with a rag. Locate the temperature sensor in the cylinder head. Disconnect the sensor wire from old sensor and remove old sensor. I used a 13/16" deep well socket. Some coolant may spill out, so have the new sensor nearby and ready to install. Place a rag under the sensor before you remove the old sensor to catch any spilled coolant. Install new sensor with pipe sealant, I used pipe dope, on the threads and torque to 53ft/lbs.
![Image]()
Picture of old sensor in head:
![Image]()
Terrible picture of new sensor with wire attached:
![Image]()
Reconnect the sensor wire, polarity is not important. Remove rag from resonator holes, reinstall resonator and airbox.
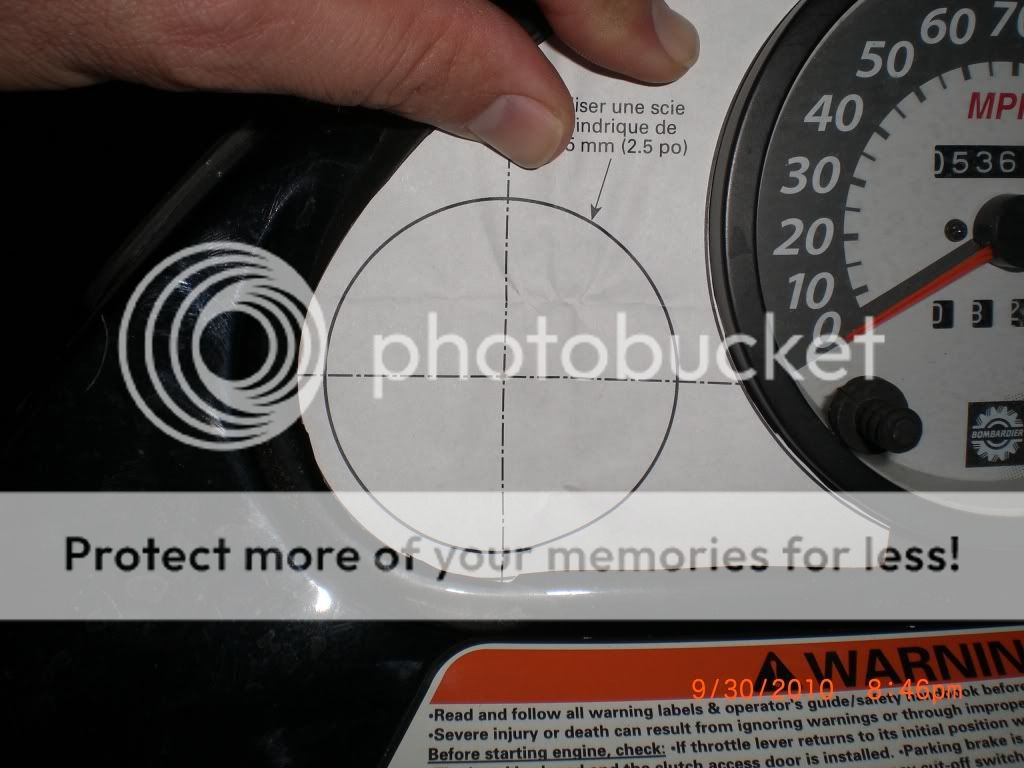
Remove the air intake plate under the hood, 4 phillips screws, to reveal the gauge wiring. Cut out the template for proper location of the gauge and position it accordingly in the gauge cluster.
![Image]()
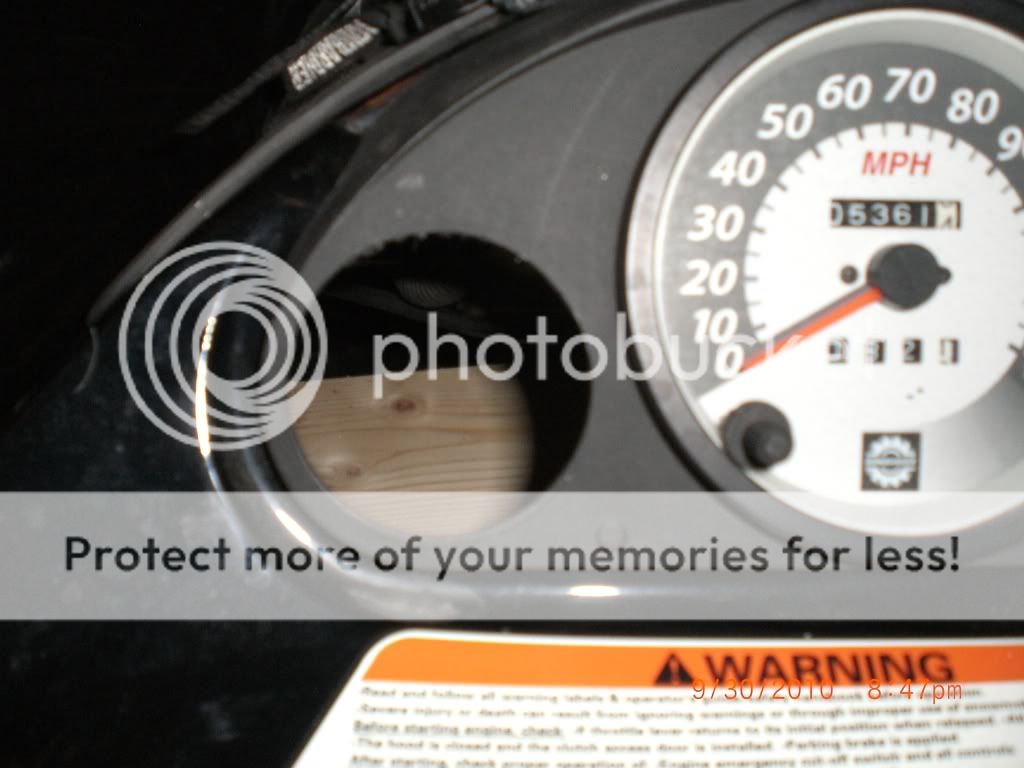
Before you drill, make sure the wiring will not get damaged when you begin drilling. I marked the center of the template with a scratch awl and drilled a pilot hole with a 1/8" drill bit. With the 2 1/2" hole saw bit, drill the gauge hole using the pilot hole for the hole saw center bit.
Finished hole:
![Image]()
Using the following diagram, install the male terminals on the appropriate wires using your wiring tool. Install terminals in the correct spot in the housing.
![Image]()
Install #2, rubber seal, on the gauge and insert the gauge into the hole on the dash. Install #3, formed washer metal ring, on the back of the gauge along with the gauge holder, #4. The flat washers, split washers, and nuts are installed on the gauge studs, tighten with a 7mm nut driver. Make sure the gauge is straight before tightening the nuts.
![Image]()
The harness side of the connector is right there next to the gauge. Connect the wiring and secure wiring with the supplied locking tie.
![Image]()
The temperature light must be unplugged or the new gauge will not work. Pull both connectors from the back side of the light and tape to the wiring harness.
![Image]()
Install the air intake plate. Check coolant level, fill if necessary. Start the engine and check for leaks. Recheck the coolant level after 10-20 minutes of operation.
Tools needed:
rag
long handle phillips screwdriver
7mm nutdriver
13/16 deep well socket and appropriate ratchet
2 1/2" hole saw
1/8" twist drill bit
scratch awl
drill
pipe sealant
stripping and crimping wiring pliers
The kit part number is:
parts list with part numbers:

Bag of parts inside the box:
The instructions are simple and easy to follow. Loosen the hose clamps on both carbs and remove the airbox. Remove the resonator and block the open holes from the removed resonator with a rag. Locate the temperature sensor in the cylinder head. Disconnect the sensor wire from old sensor and remove old sensor. I used a 13/16" deep well socket. Some coolant may spill out, so have the new sensor nearby and ready to install. Place a rag under the sensor before you remove the old sensor to catch any spilled coolant. Install new sensor with pipe sealant, I used pipe dope, on the threads and torque to 53ft/lbs.

Picture of old sensor in head:

Terrible picture of new sensor with wire attached:

Reconnect the sensor wire, polarity is not important. Remove rag from resonator holes, reinstall resonator and airbox.
Remove the air intake plate under the hood, 4 phillips screws, to reveal the gauge wiring. Cut out the template for proper location of the gauge and position it accordingly in the gauge cluster.
Before you drill, make sure the wiring will not get damaged when you begin drilling. I marked the center of the template with a scratch awl and drilled a pilot hole with a 1/8" drill bit. With the 2 1/2" hole saw bit, drill the gauge hole using the pilot hole for the hole saw center bit.
Finished hole:
Using the following diagram, install the male terminals on the appropriate wires using your wiring tool. Install terminals in the correct spot in the housing.

Install #2, rubber seal, on the gauge and insert the gauge into the hole on the dash. Install #3, formed washer metal ring, on the back of the gauge along with the gauge holder, #4. The flat washers, split washers, and nuts are installed on the gauge studs, tighten with a 7mm nut driver. Make sure the gauge is straight before tightening the nuts.
The harness side of the connector is right there next to the gauge. Connect the wiring and secure wiring with the supplied locking tie.

The temperature light must be unplugged or the new gauge will not work. Pull both connectors from the back side of the light and tape to the wiring harness.

Install the air intake plate. Check coolant level, fill if necessary. Start the engine and check for leaks. Recheck the coolant level after 10-20 minutes of operation.


